F3 Sydney - Newcastle Freeway
HISTORIC PHOTOS
Historic Photos of the F3 Sydney-Newcastle Freeway |
|
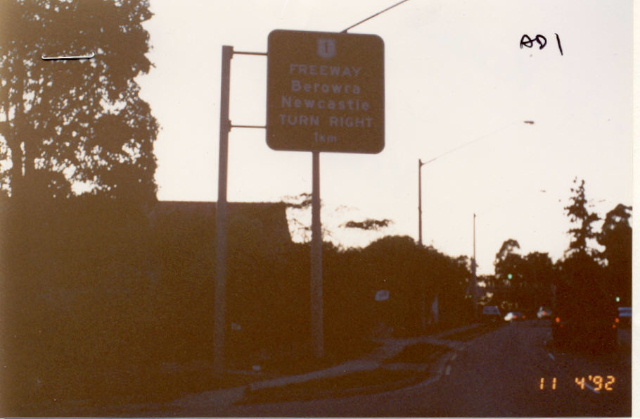 |
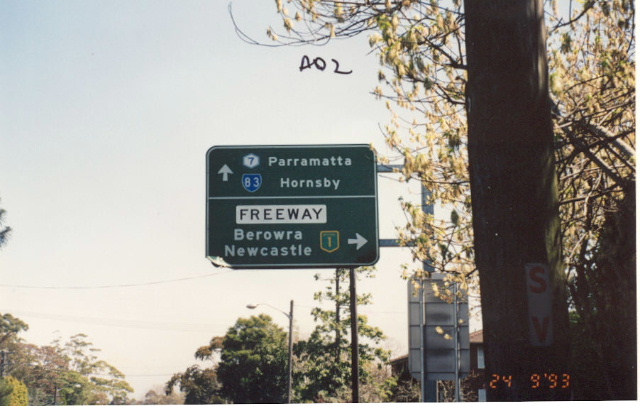
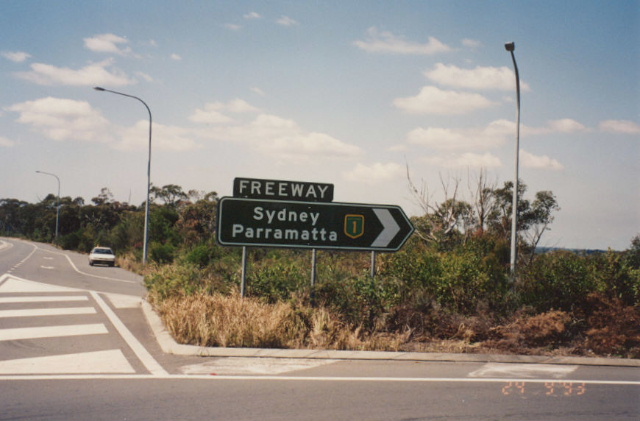
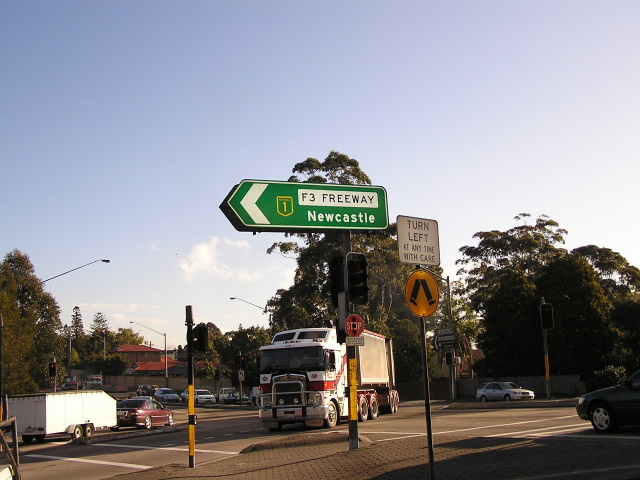
Original northbound AD sign on Pennant Hills Rd for the F3. This sign was replaced in 1993 by this sign. Photo taken April 1992. |
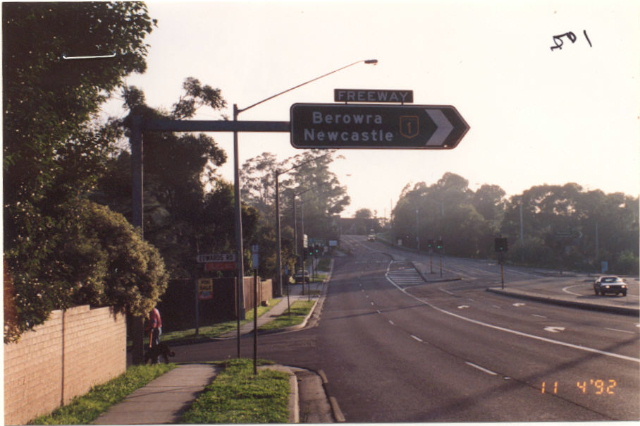 |
Original northbound ID sign on Pennant Hills Rd for the F3. This sign was replaced by this sign. Photo taken April 1992. |
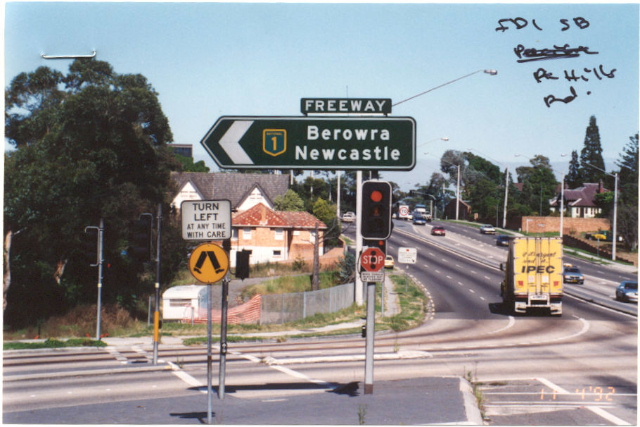 |
Original southbound ID sign on Pennant Hills Rd for the F3. This sign was replaced in 1994 and then this sign was installed in 2002. Photo taken April 1992. |
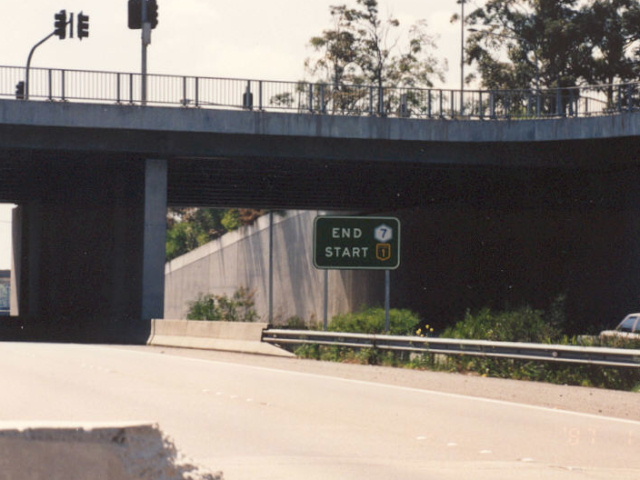 |
This sign was installed in 1994, when Metroad 7 was signposted but was removed in 2003 with no replacement and I don't have the slightest idea why. Photo taken c.1994. |
 |
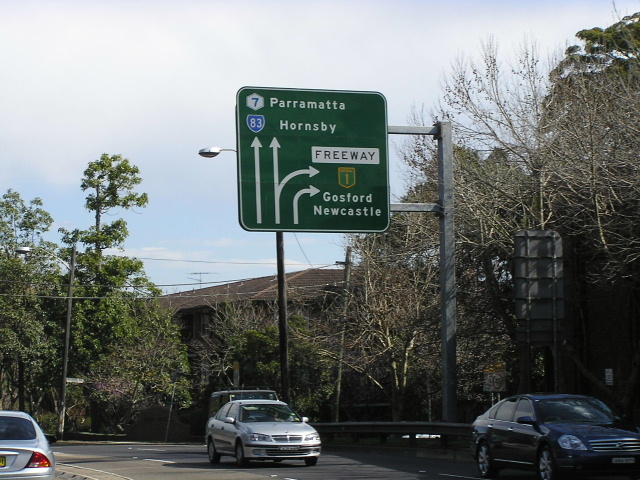
North-west bound on Pacific Hwy approaching the F3 in 1993. This sign was replaced in the late 1990's with this sign. |
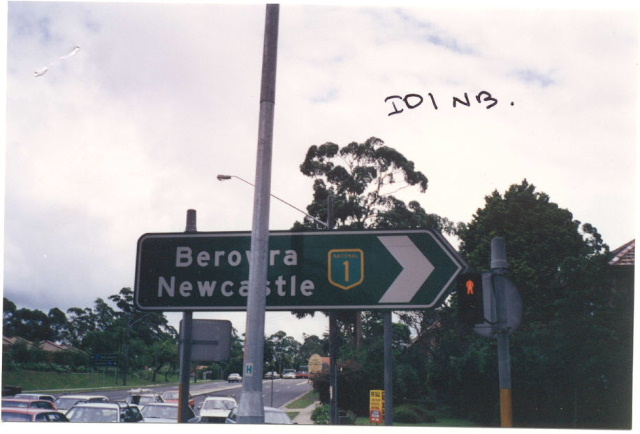 |
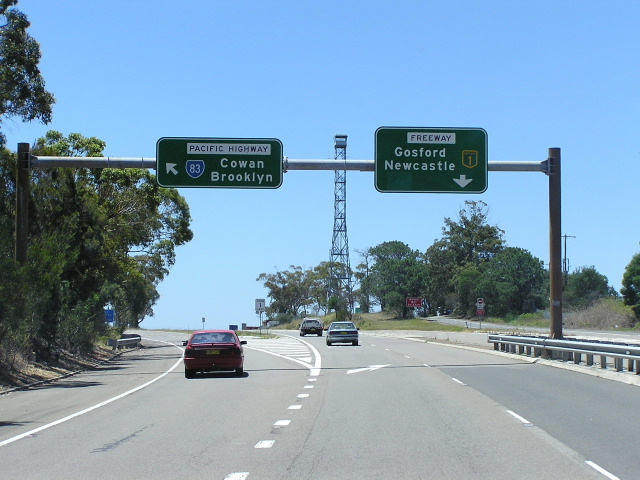
Original ID sign for the northbound freeway entrance at Wahroonga. Berowra was used as a focal point to emphasise that Hornsby was now bypassed. This sign was replaced in the mid 1990's and then another sign erected in 2002, which can be viewed here. Photo taken 1993. |
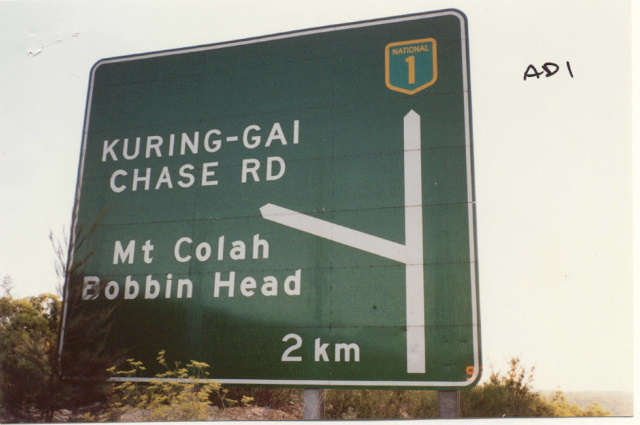 |
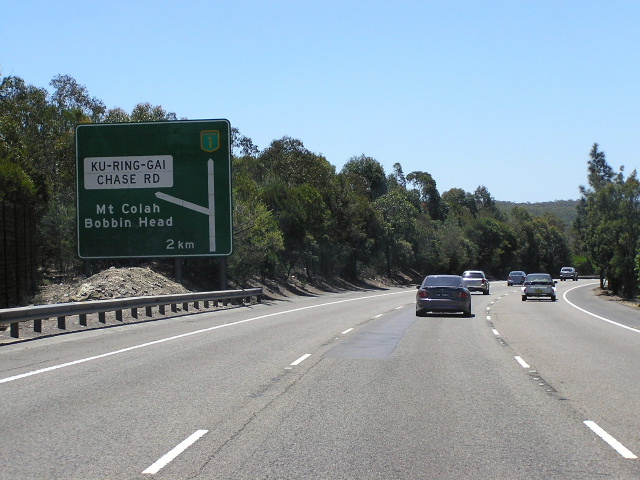
Northbound 2km AD sign for Ku-ring-gai Chase Rd. This sign was replaced in 1994 by this sign. Photo taken Sepember 2003. |
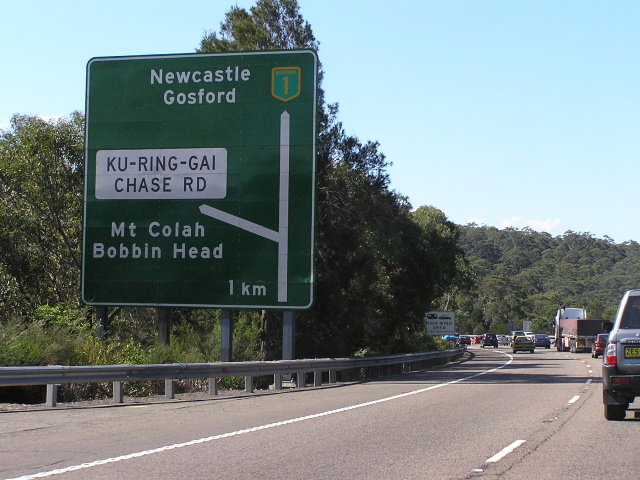
Northbound 1km AD sign for Ku-ring-gai Chase Rd. This sign was replaced in 1994 by this sign. Photo taken September 1993. |
|
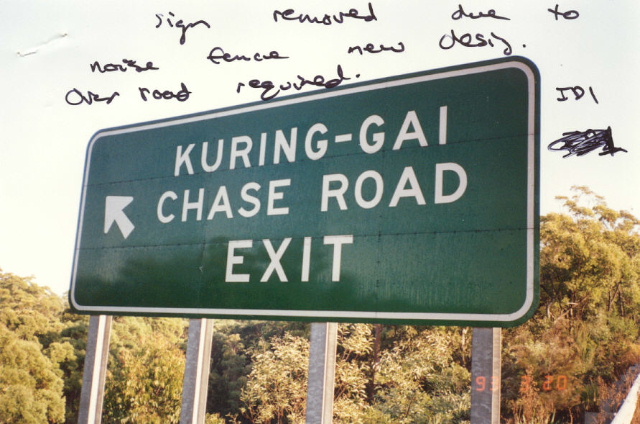 |
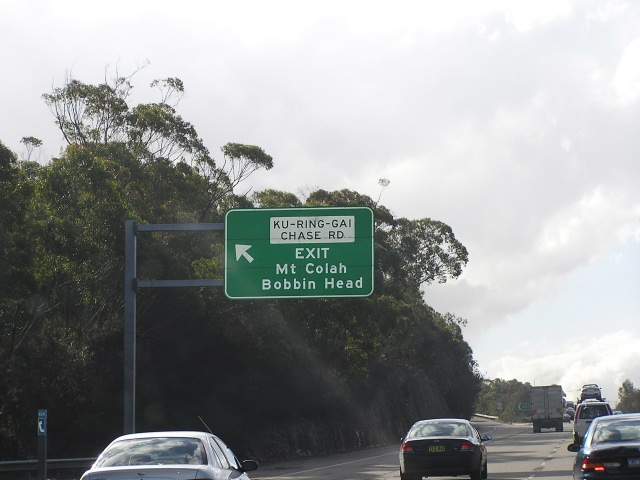
Northbound freeway ID sign for Ku-ring-gai Chase Rd exit. This sign was replaced in 1994 by this sign because of sound walls that were constructed. Photo taken September 1993. |
 |
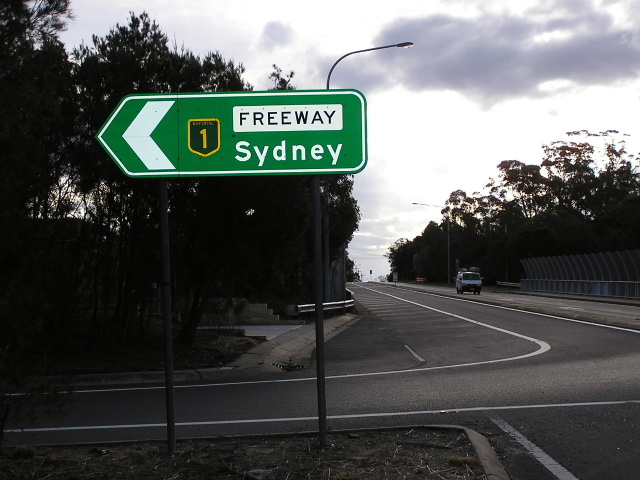
ID sign for the freeway entrance westbound on Ku-ring-gai Chase Rd. This sign was replaced in 1994 by this sign. Photo taken September 1993. |
 |
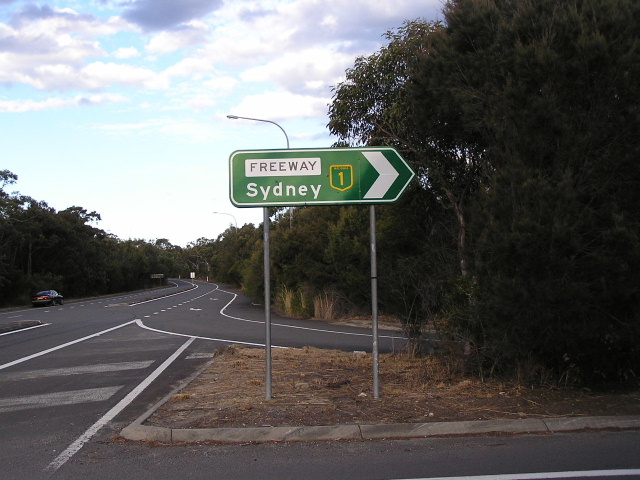
ID sign for the freeway entrance eastbound on Ku-ring-gai Chase Rd. This sign was replaced in 1994 by this sign. Photo taken September 1993. |
.jpg) |
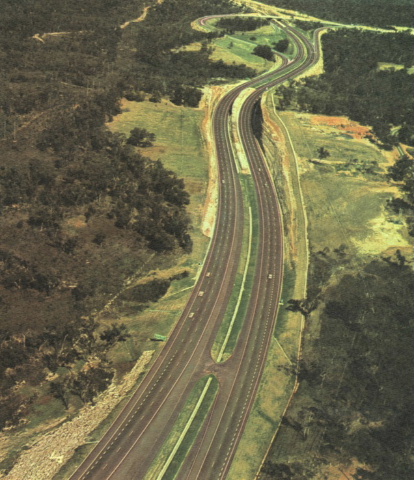
Looking south at Berowra with the Berowra-Wahroonga section under construction in 1988. Thanks to Lachlan Sims. |
 |
Old freeway green northbound RD sign from the Berowra interchange. This sign was removed and never replaced not long after this photo was taken in September 1993. |
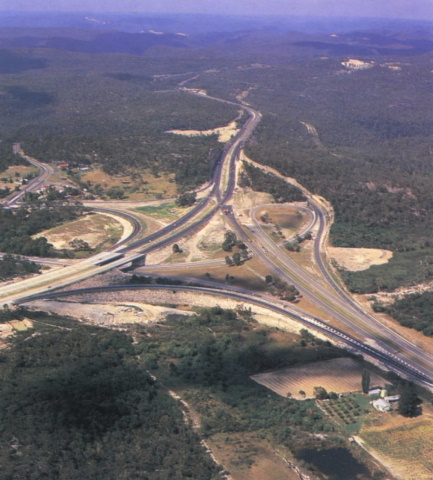
Southerly aerial view over the newly completed Berowra Interchange in 1968. Scanned from Main Roads Journal. |
|
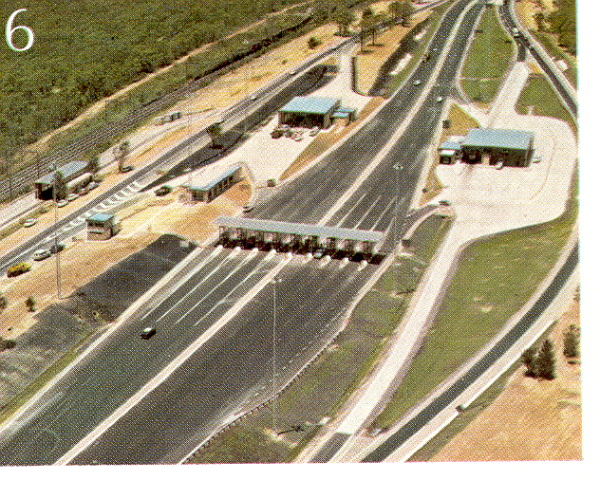 |
Southerly aerial view over the Berowra toll booths in 1968. Scanned from Main Roads Journal. |
 |
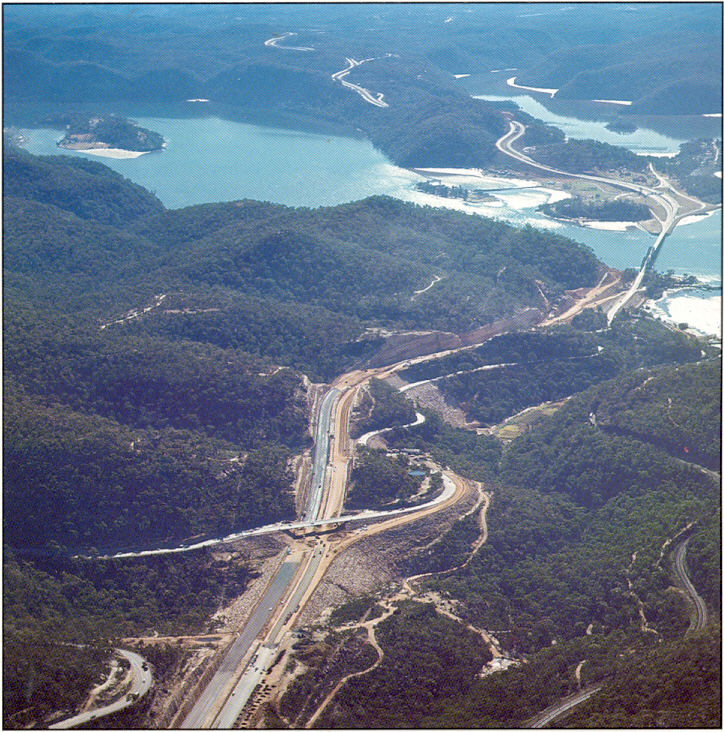
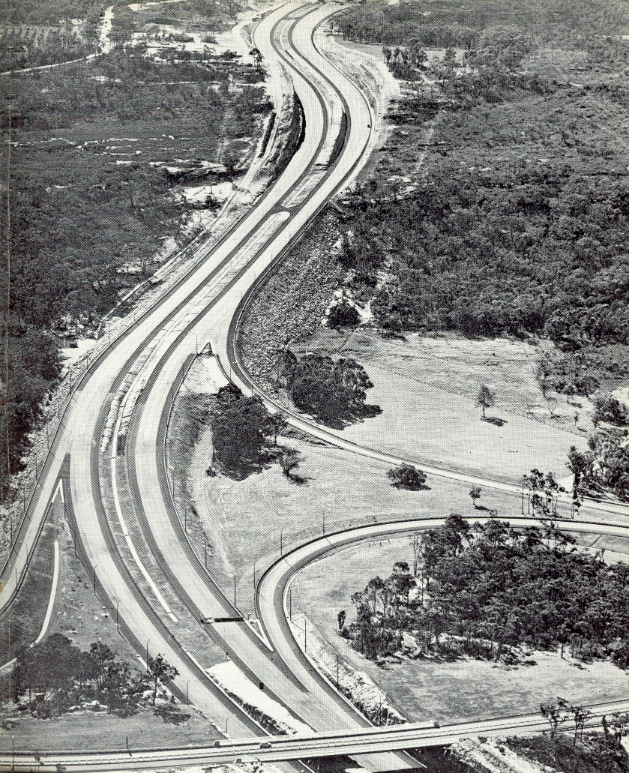
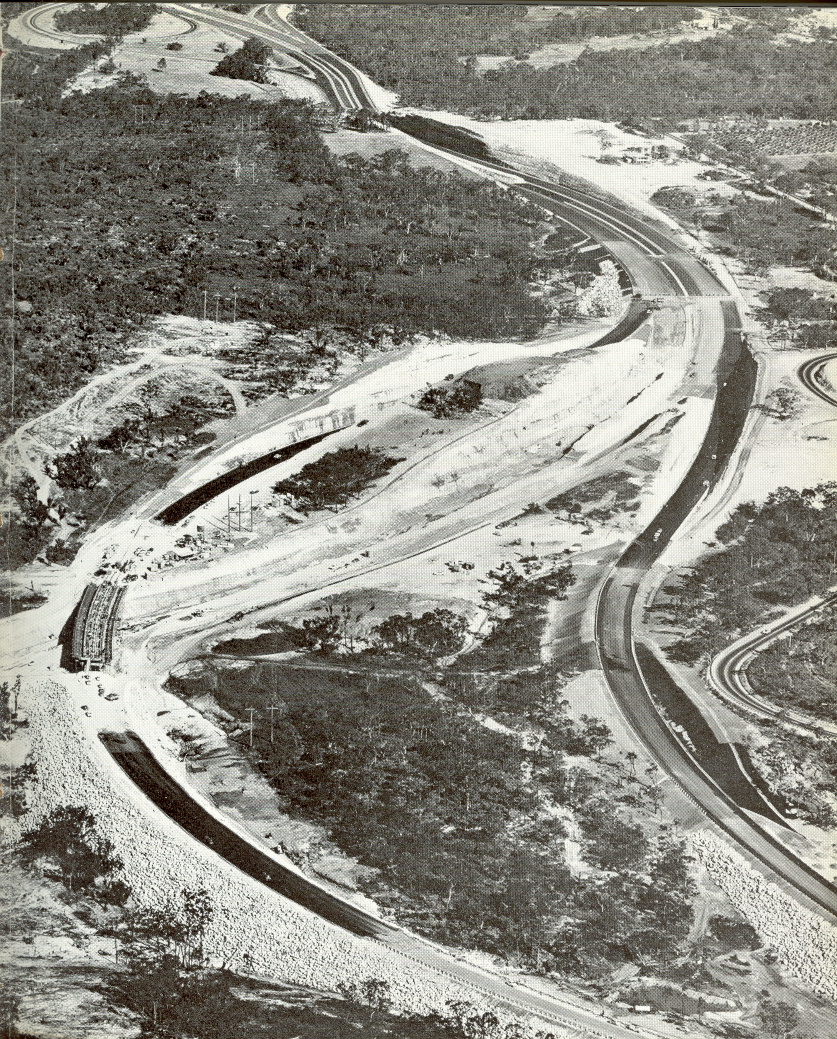
Northerly aerial view over the Berowra Interchange with the Berowra-Wahroonga stage of the F3 still under construction in 1988. Thanks to Lachlan Sims for this pic. |
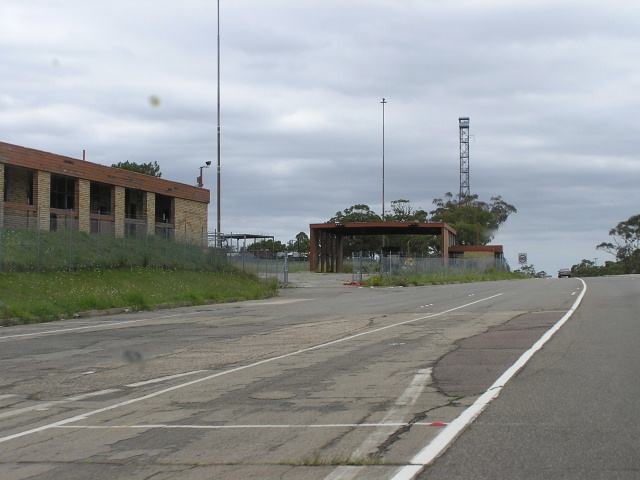 |
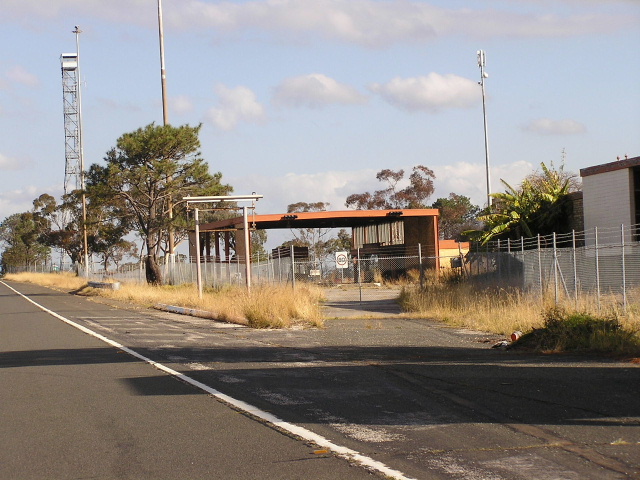
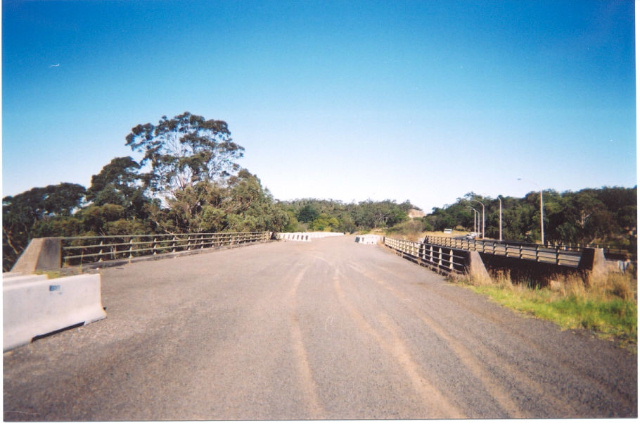
Looking south on the freeway on/offramps through where the Berowra toll booths used to be. The old buildin on the left is the southbound weigh station that was closed in 1989 and replaced by the Mt White weigh station. Photo taken December 2003. |
 |
Looking south on the Pacific Hwy where the old weigh station was. Photo taken August 2004. |
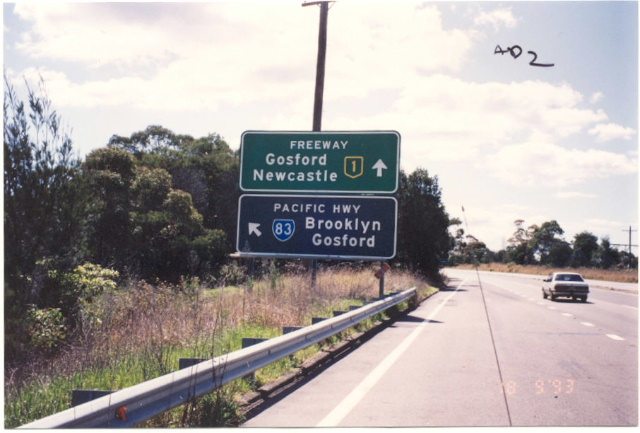 |
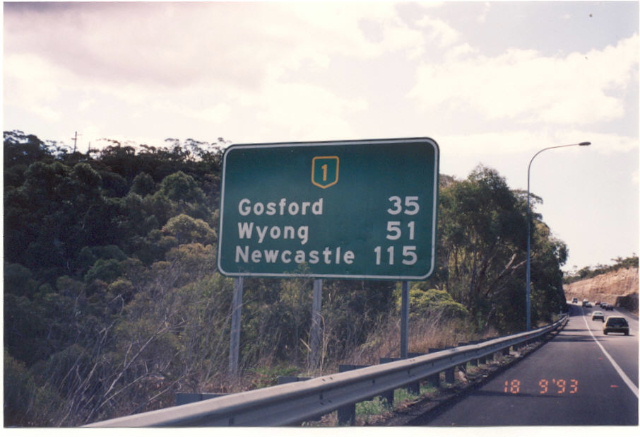
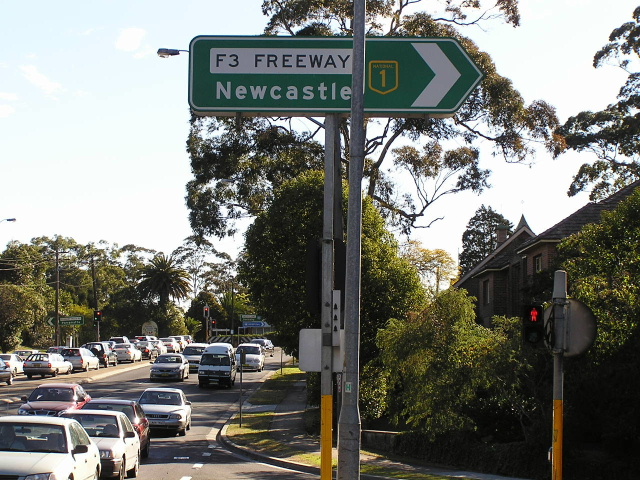
Looking north on the Pacific Hwy towards the freeway ramps in September 1993. Note the freeway green and painted 'standard green' signs. These signs have since been replaced by these signs. |
 |
Construction of the Berowra-Hawkesbury River section in 1967. Scanned from Main Roads Journal. |
 |
Looking south through Cowan during construction, 1967. Scanned from Main Roads Journal. |
Looking south over Cowan not long after opening, 1968. Scanned from Main Roads Journal. |
|
Looking south over the F3 at Brooklyn, not long before opening in 1968. Scanned from Main Roads Journal. |
|
 |
Southerly view over the Pacific Hwy overpass at Brookyln in 1968. Note the temporary southbound on-ramp from the Pacifc Hwy that serviced southbound traffic between 1968-73. Thanks to Lachlan Sims for this pic. |
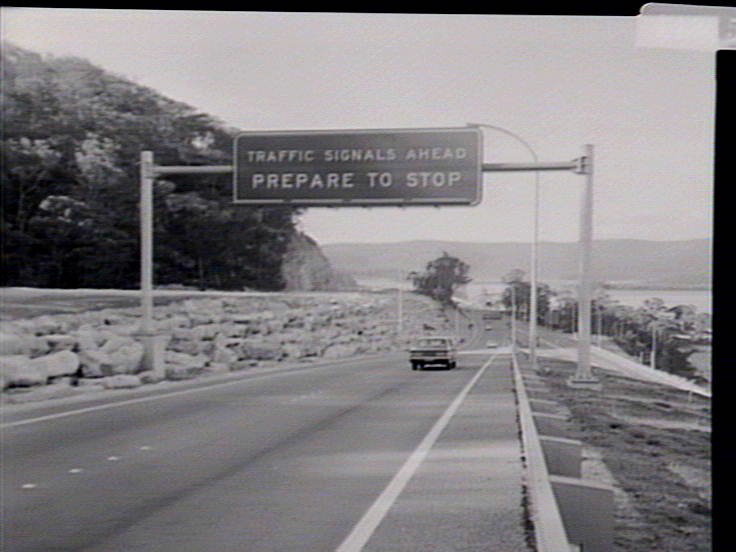 |
The temporary northbound ramp from the Berowra-Hawkesbury River construction stage to the Peats Ferry Bridge which freeway and highway traffic shared for 5 years. Traffic signals were installed to assist with the merging process, especially when the bridge was only one-lane northbound. Photo taken 1970. |
 |
Northerly view of the Mooney Mooney tolls not long after opening in 1965. Thanks to Lachlan Sims for this pic. |
 |
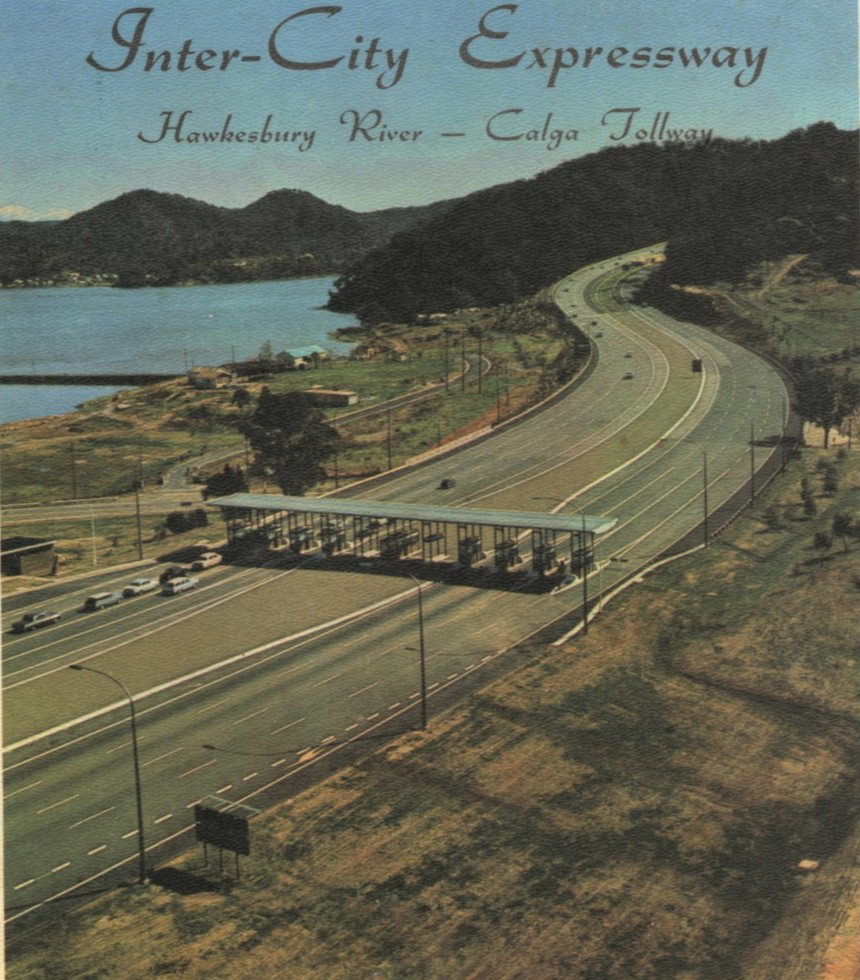
Southerly view over the Mooney Mooney tolls in 1966. The interchange was redeveloped in 1989 in conjunction with the Berowra-Wahroonga section to include southbound on/off ramps. Scanned from Main Roads Journal. |
 |
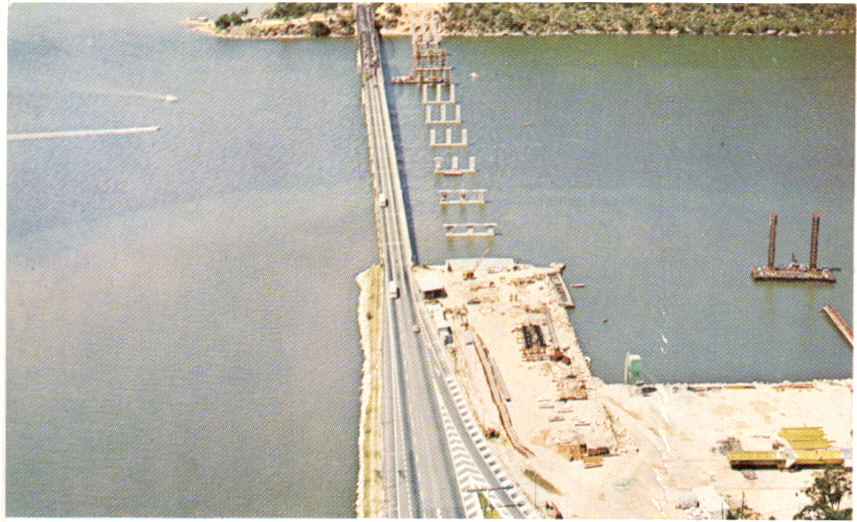
Southerly aerial view over the temporary southern approach to Peats Ferry Bridge, still under construction in 1967. Scanned from Main Roads Journal. |
 |
Looking north over the Hawkesbury River, 1968. Thanks to Lachlan Sims for this pic. |
Northerly aerial view over the Hawkesbury River in 1968, just before opening day. Scanned from Main Roads Journal. |
|
 |
Looking south from Mooney Mooney showing construction of the freeway bridge over the Hawkesbury River in 1970. Scanned from Main Roads Journal. |
 |
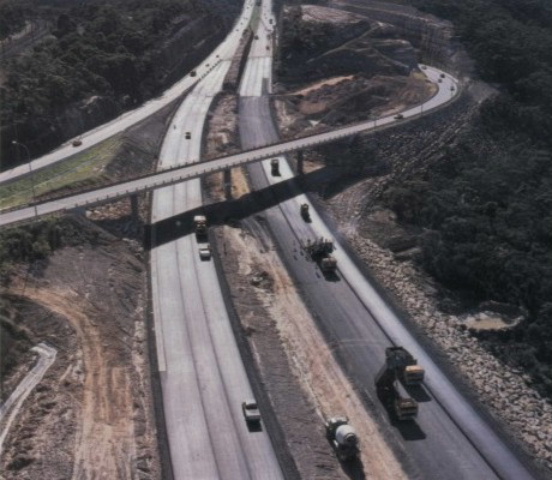
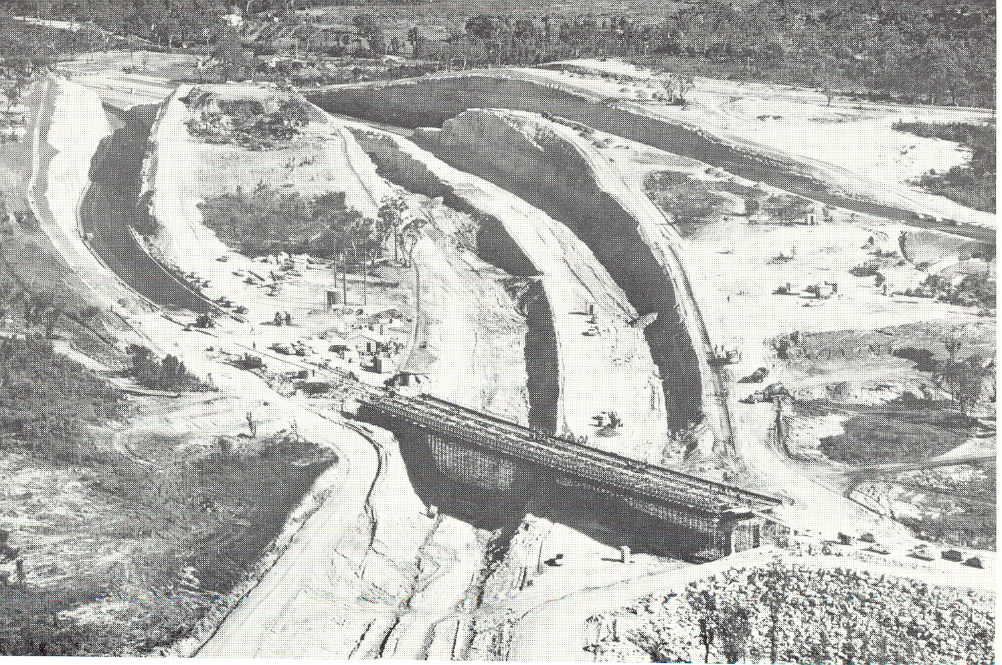
Southerly aerial view showing construction of the freeway bridge over Hawkesbury River in 1971. Scanned from Main Roads Journal. |
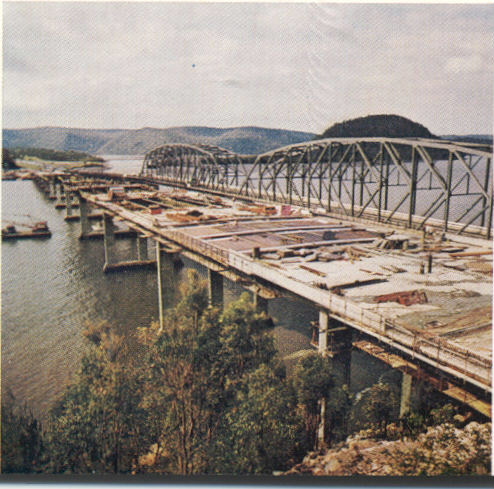 |
Construction of the bridge deck in 1972. Scanned from Main Roads Journal. |
Hawkesbury River Bridge nearing completion in 1973. Scanned from Main Roads Journal. |
|
Looking south over the newly opened Hawkesbury River Bridge in 1974. Scanned from Main Roads Journal. |
|
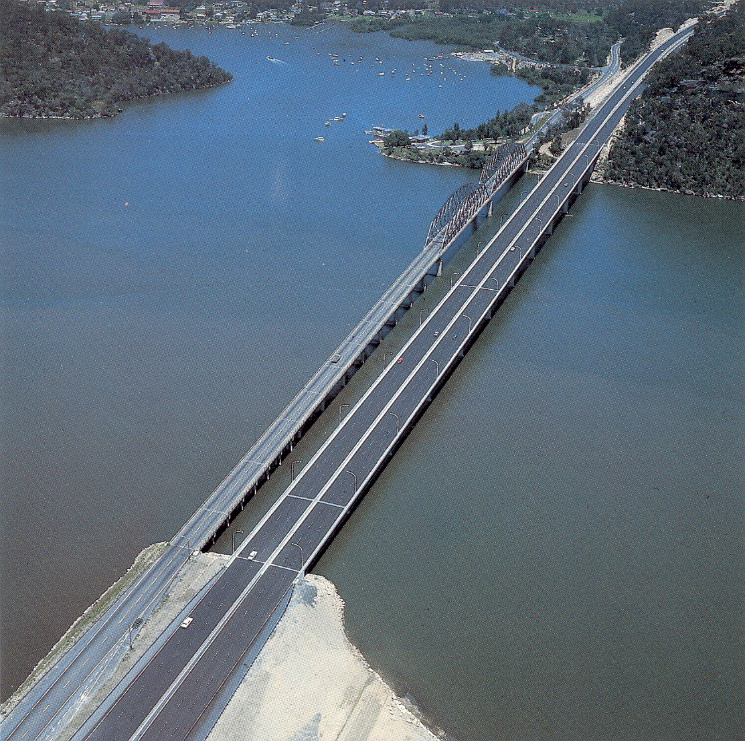 |
Southerly aerial view over the two Hawkesbury River bridges side-by-side in 1975. Scanned from Main Roads Journal. |
 |
Northerly aerial view over Jolls Bridge, 1966. Thanks to Lachlan Sims for this pic. |
 |
Southerly aerial view over Jolls Bridge, 1966. Scanned from Main Roads Journal. |
 |
Construction of the Hawkesbury River-Mt White stage in 1963. Scanned from Main Roads Journal. |
 |
Looking south from the Pacific Hwy underpass at Mt White just after opening of the freeway between Hawkesbury River and Mt White, 1965. Scanned from Main Roads Journal. |
 |
Mt White interchange, half completed during construction of the Mt White-Calga stage in 1965. Scanned from Main Roads Journal. |
Looking north from Mt White interchange with the Mt White-Calga section under construction in 1965. Scanned from Main Roads Journal. |
|
 |
Looking south to Mt White, 1966. Thanks to Lachlan Sims for this pic. |
 |
Looking north from Mt White to Calga in 1967. Scanned from Main Roads Journal. |
 |
Looking south over Mt White interchange in 1970. Scanned from Main Roads Journal. |
 |
Looking north at Mt White, 1975. Scanned from Main Roads Journal. |
 |
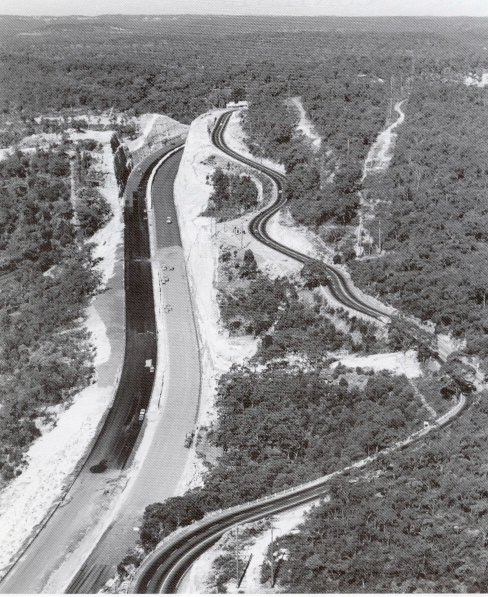
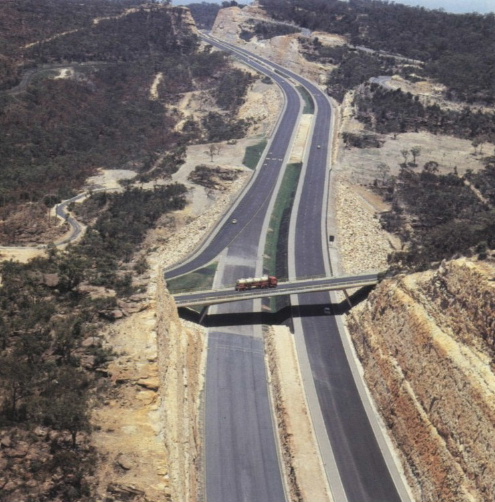
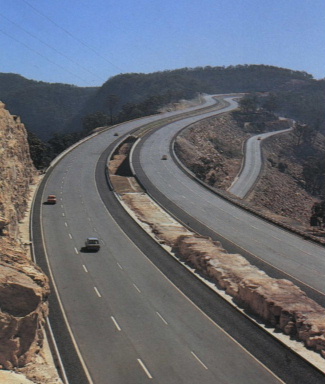
Construction of the phantom interchange north of Mt White during 1965. It is clear where the freeway would have gone to cross Mooney Mooney Creek originally. This interchange was reconstructed in 2003. Scanned from Main Roads Journal. |
 |
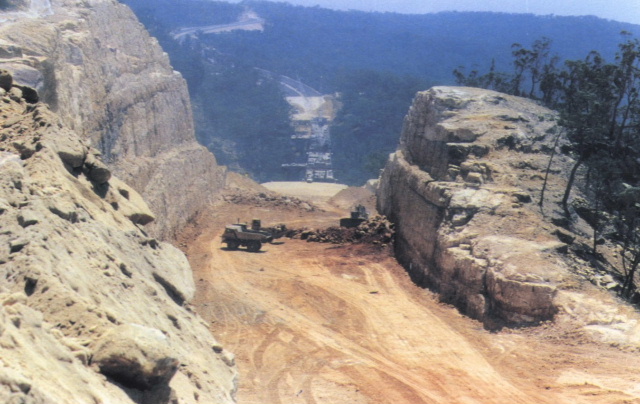
Construction of the phantom interchange in more detail, again during 1965. Plenty of money was spent excavating the cuttings for the F3 mainline route that was never built. Scanned from Main Roads Journal. |
 |
Aerial view of Calga before the freeway construction was begun in 1964. Scanned from Main Roads Journal. |
 |
Looking north at the original Calga interchange. As you can see from the signs, NR1 was not routed via Peats Ridge until 1974 when it became the national highway. Photo taken 1966, scanned from Main Roads Journal. |
 |
Southerly aerial view over the original Calga interchange in 1966. Note the old section of Peats Ridge Rd that was cut off by the interchange construction. Thanks to Lachlan Sims for this photo. |
 |
Southerly aerial view over the reconstructed Calga interchange in 1986. Thanks to Lachlan Sims for this photo. |
 |
Southerly aerial view over Calga interchange in 1986. You can clearly see where Peats Ridge Rd once merged straight onto the freeway. Scanned by Main Roads Journal. |
 |
Southerly view along what once was the southbound carriageway of the freeway, connecting from Peats Ridge Rd. These bridges are now unused, except as a stockpile for construction equipment. Photo taken June 2003. |
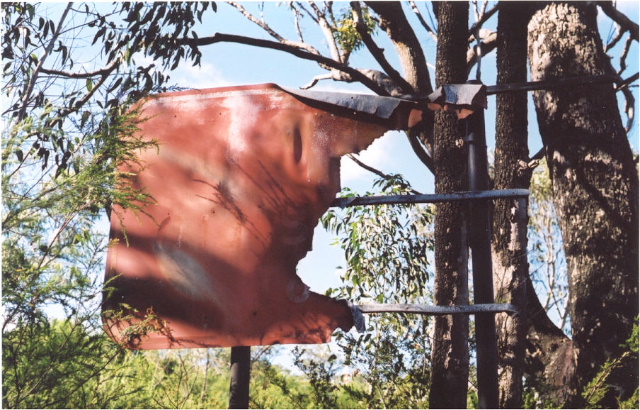 |
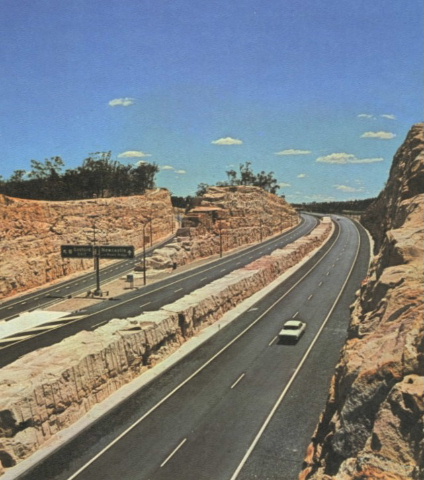
Very old sign on Pacific Hwy at Calga, destroyed by bushfires in the late 1990's. This sign used to say 'SR83/Old Sydney Town 9' and was installed in 1979 when SR83 was signposted. Photo taken June 2003. |
 |
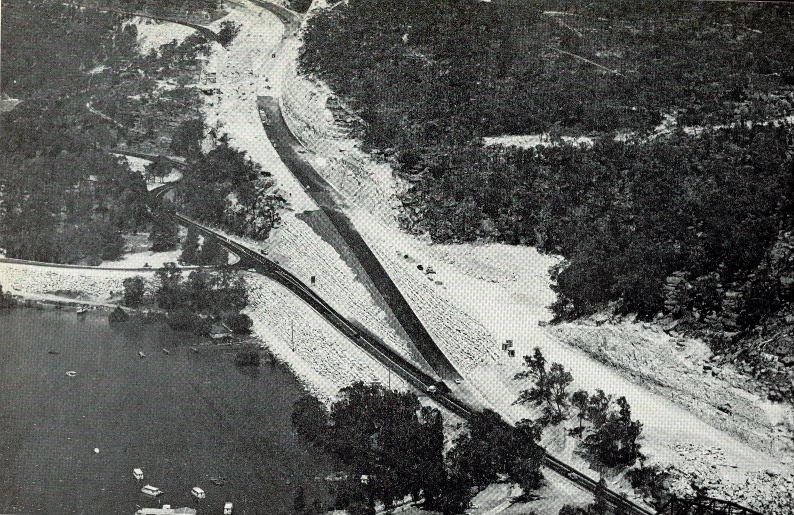
Looking south across Mooney mooney Creek during construction, 1985. Scanned from Main Roads Journal. |
Southerly aerial view over Mooney Mooney Creek just after opening, 1986. Scanned from Main Roads Journal. |
|
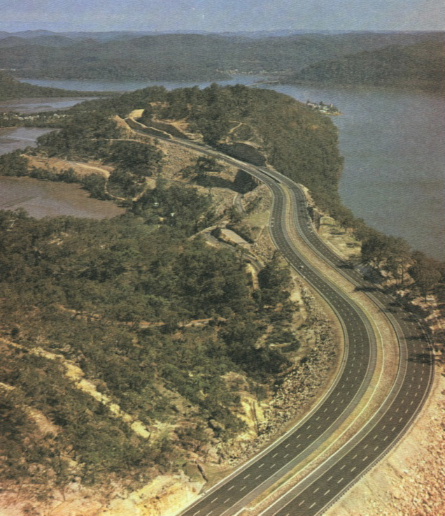
Looking south across Mooney Mooney Creek, showing the viewing area that was closed to traffic in 2003. Scanned from the Calga-Somersby opening brochure. |
|
 |
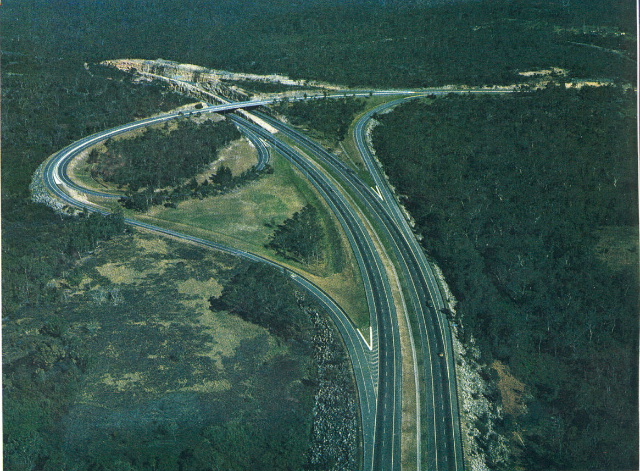
Southerly aerial view over Kariong Interchange just after opening in 1986. Scanned from Main Roads. |
 |
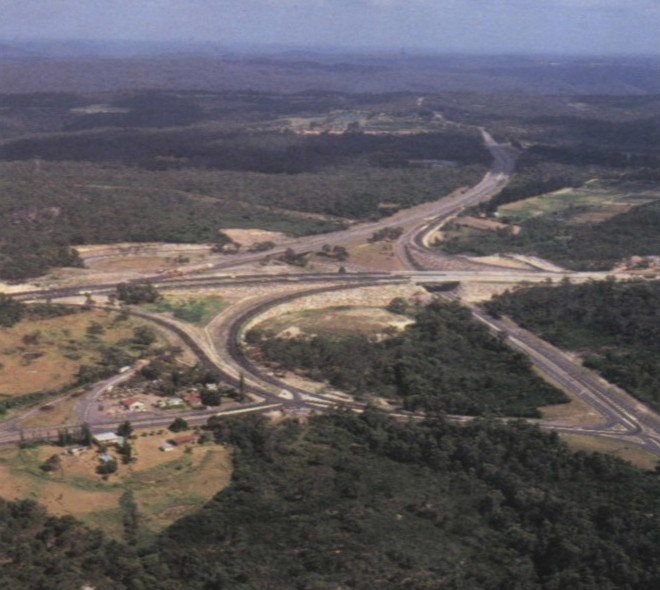
Southerly aerial view over the Somersby Interchange, 1996. |
Duplication of State Highway 26 (Peats Ridge Rd) between Somersby and Ourimbah during 1982 to turn it into the freeway. Scanned from Main Roads Journal. |
|
 |
Duplication works on State Highway 26 again during 1982. Scanned from Main Roads Journal. |
 |
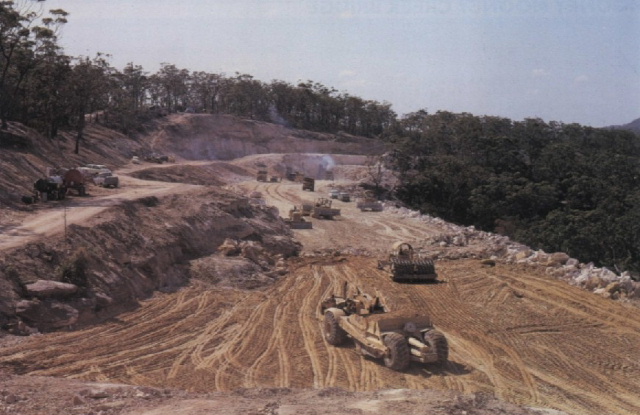
Major earthworks where the freeway deviated from the original SH26 alignment in 1982. Scanned from Main Roads Journal. |
 |
Major earthworks showing construction of the freeway next to SH26 in the vicinity of Mangrove Rd overpass, 1982. Scanned from Main Roads Journal. |
 |
Southern approach to Ourimbah in 1964, showing the newly constructed State Highway 26 which teh freeway largely follows today. This section of freeway was opened to traffic in December 1983, nearly 20 years after this pic was taken. Scanned from Main Roads Journal. |
| Ourimbah in 1964, 33 years before the interchange opened. Scanned from Main Roads Journal. | |
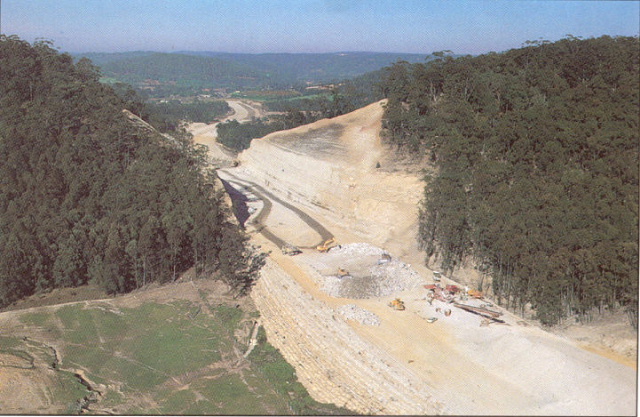 |
Northerly aerial view over the construction of the Kangy Angy cutting in 1981. Scanned from Main Roads Journal. |
View of Old Tuggerah Rd underpass in 1982. Note the steel tube design, meaning the freeway can cross the road on high fill rather than on a bridge structure. Scanned from Main Roads Journal. |
|
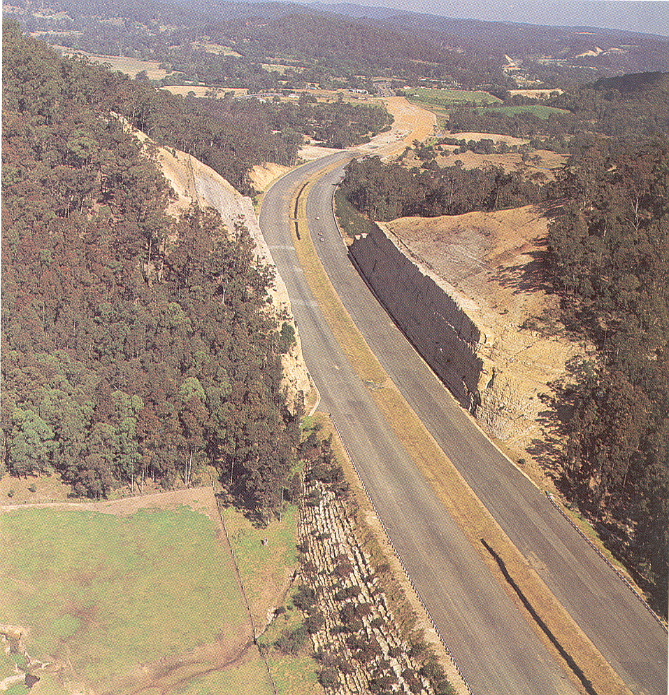 |
Southerly aerial view over the Kangy Angy cutting in 1983. Scanned from Main Roads Journal. |
 |
Northerly aerial view of Warnervale (Sparks Rd) interchange in 1990. |
 |
Construction of the Wallarah Ck-Morisset section at Wyee in 1982. |
 |
This sign is an original from when the freeway opened to Morisset in September 1987. The blank coverplate covers 'Toronto' which was signposted when the freeway finished at Palmers Rd. 'Newcastle' was also coverplated from 1987-90 when the freeway opened to Palmers Rd. This sign replaced it in the late 1990's. Photo taken 1996. |
 |
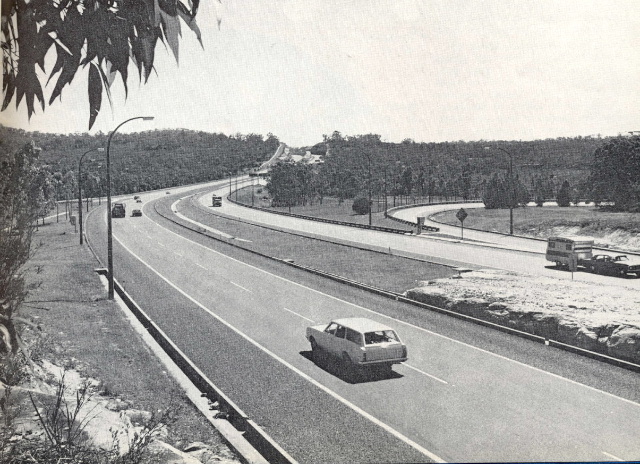
Looking north through Cooranbong not long after opening in 1989. Thanks to Lachlan Sims for this pic. |
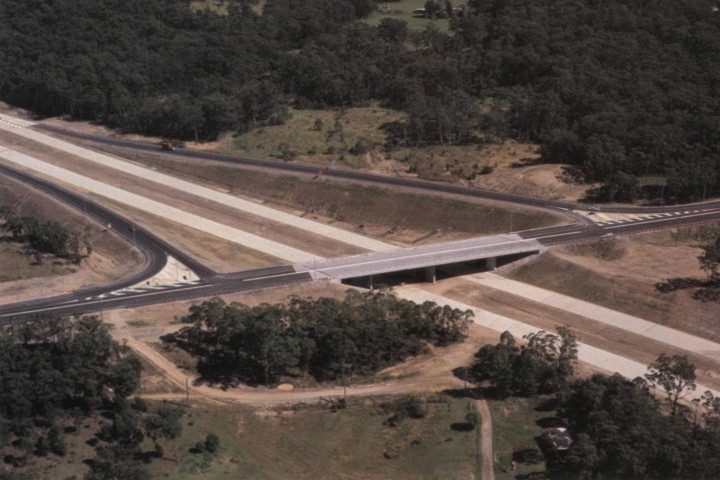 |
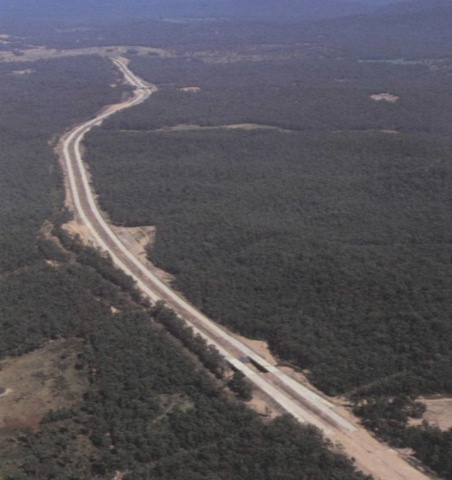
Aerial view over the newly opened Freemans Waterholes Interchange in 1988. Thanks to Lachlan Sims for this pic. |
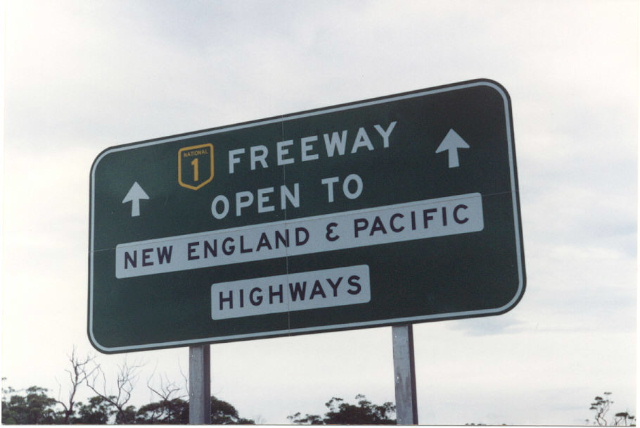 |
Northbound at Freemans Waterholes Interchange, this sign was installed in 1993 when the freeway was opened to Minmi, advising traffic that had exited here for 5 years that they could now use the freeway to get the New England/Pacific Highways. It was replaced in 2000 by this sign. Photo taken 1998. |
 |
Looking south over Lords Creek between Palmers Rd & Freemans Drive in 1988. Thanks to Lachlan Sims for this pic. |
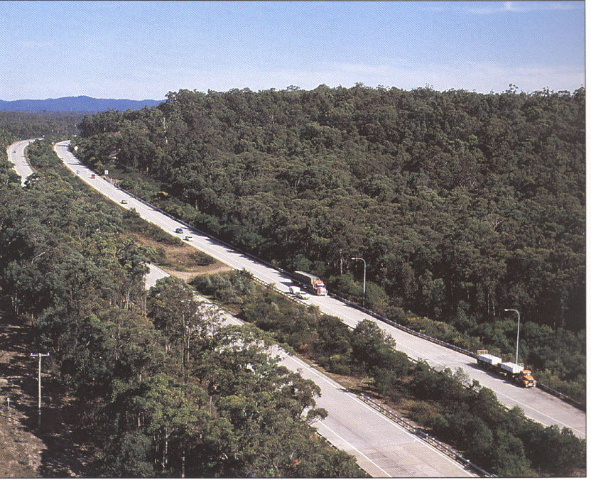 |
Looking south over Palmers Creek at Ryhope, following opening of the Freemans Dr-Palmers Rd section, 1993. |
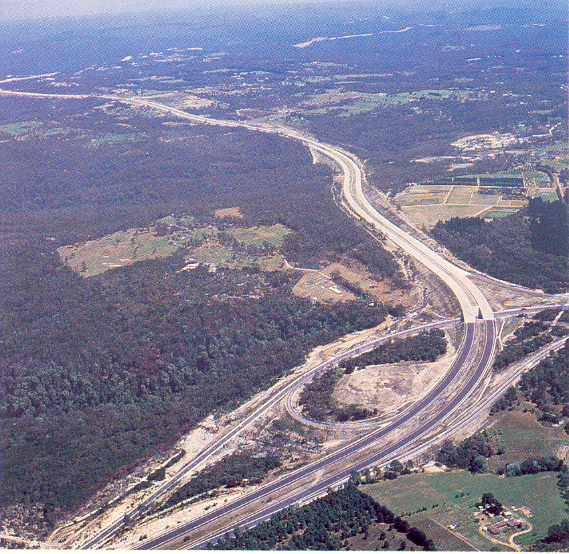
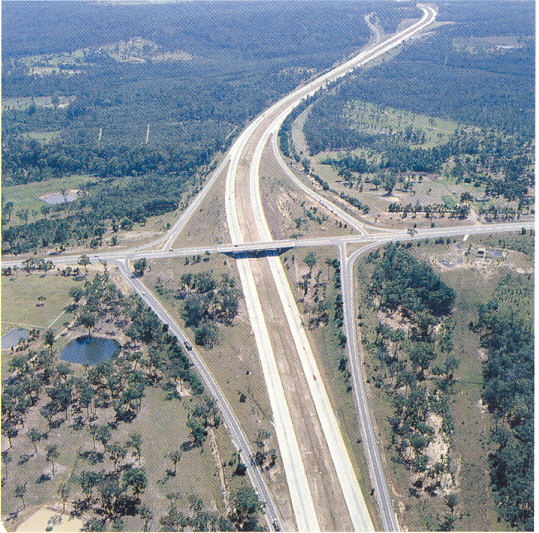
Northerly aerial view over the freeway at Killingworth in 1993. Scanned from Palmers Rd-Minmi opening brochure. |
|
 |
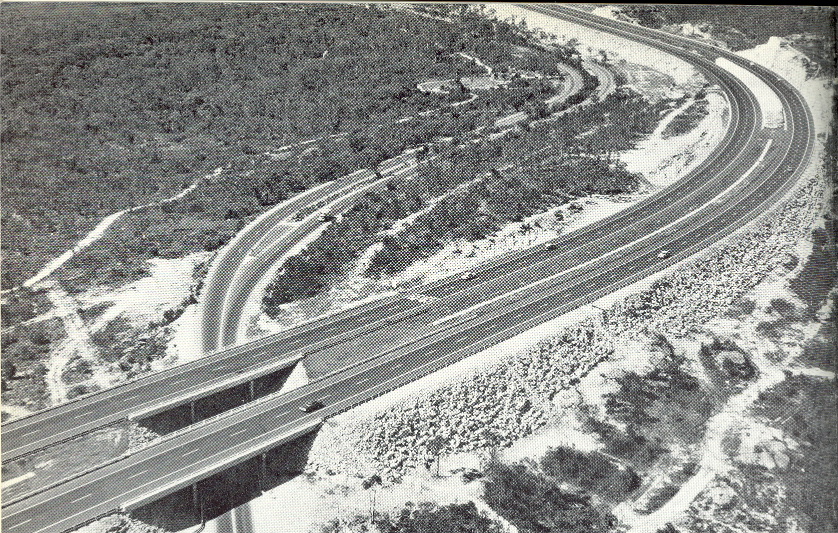
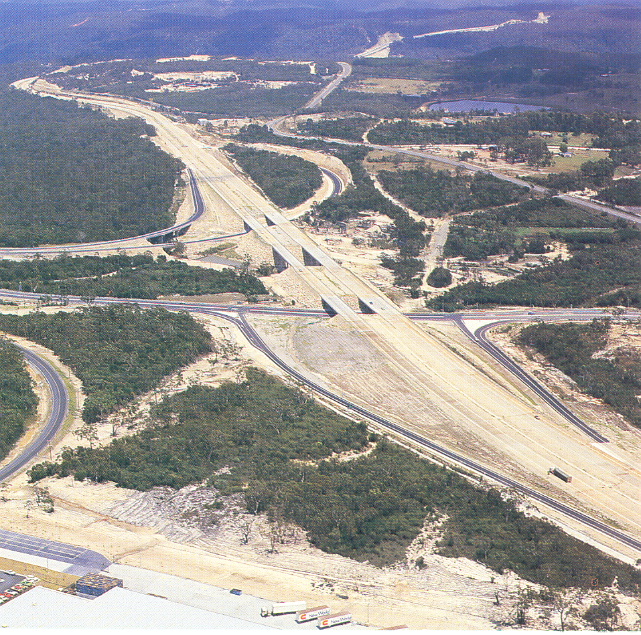
Easterly aerial view above construction of the interchange with Newcastle Link Rd (Newcastle Interchange) in 1992. Scanned from the Palmers Rd-Minmi opening brochure. |
 |
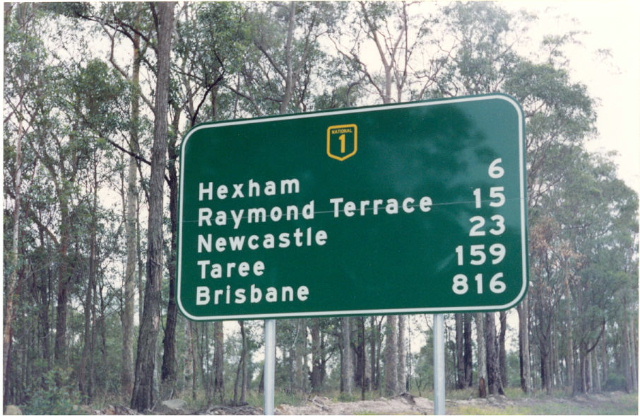
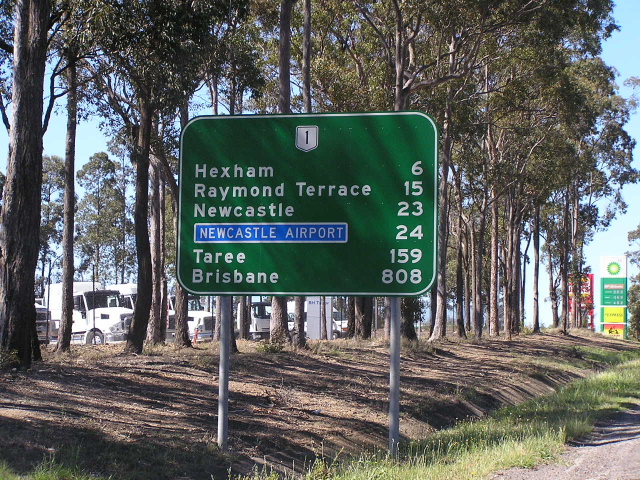
The old northbound AD sign for the Beresfield roundabout, dating from when Lenaghans Drive carried the NH1 designation. This sign has since been replaced with this sign. Photo taken 1994. |
 |
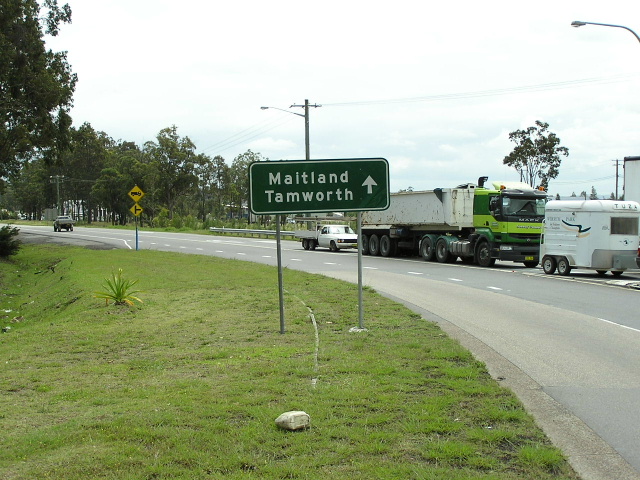
The old northbound RD sign on John Renshaw Dr at the end of the freeway. This sign was replaced with this sign in 2002. Photo taken 1994. |
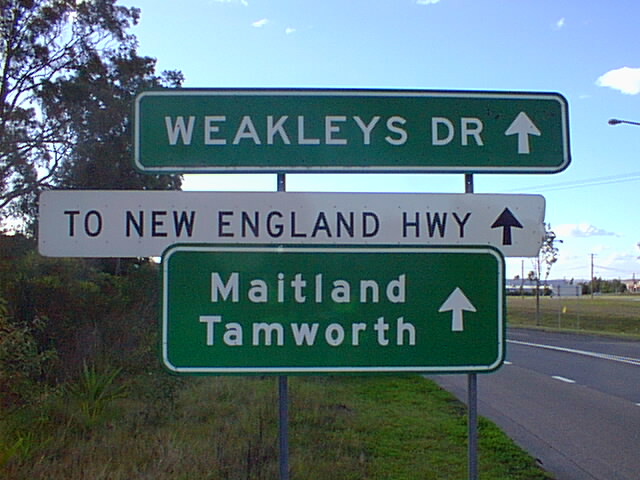 |
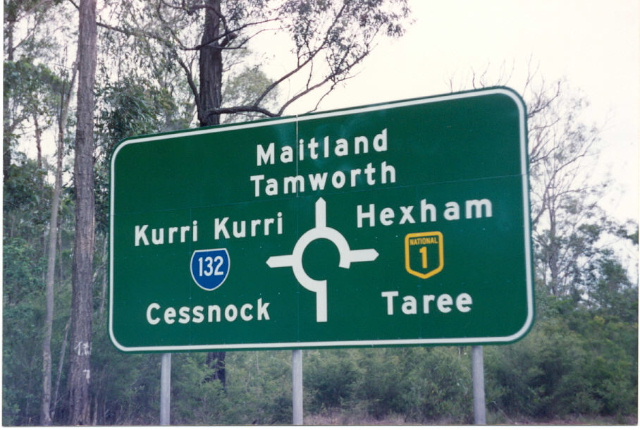
ID signs for Weakleys Drive at the Beresfield roundabout. The top two signs were removed during 2004. Im not sure why, because the name plates are surely beneficial to navigation. This sign now looks like this. Photo taken December 2003. |